Supplies
- FloraCraft® CraftFōM®:
- Balls:
- 1.5" - White
- 2" - White
- 2.5" - White
- 6" - White
- Balls:
- Dried Seeds and Beans:
- Lentils
- Red Lentils
- Corn
- Black Eye Peas
- Split Peas
- Black Beans
- Raffia
- Acrylic Sealer (Optional)
Tools
- Foam Cutter or Serrated Knife
- Low-Temp Glue Gun and Glue Sticks
- Large Rubber Band
- Black Marker
Instructions
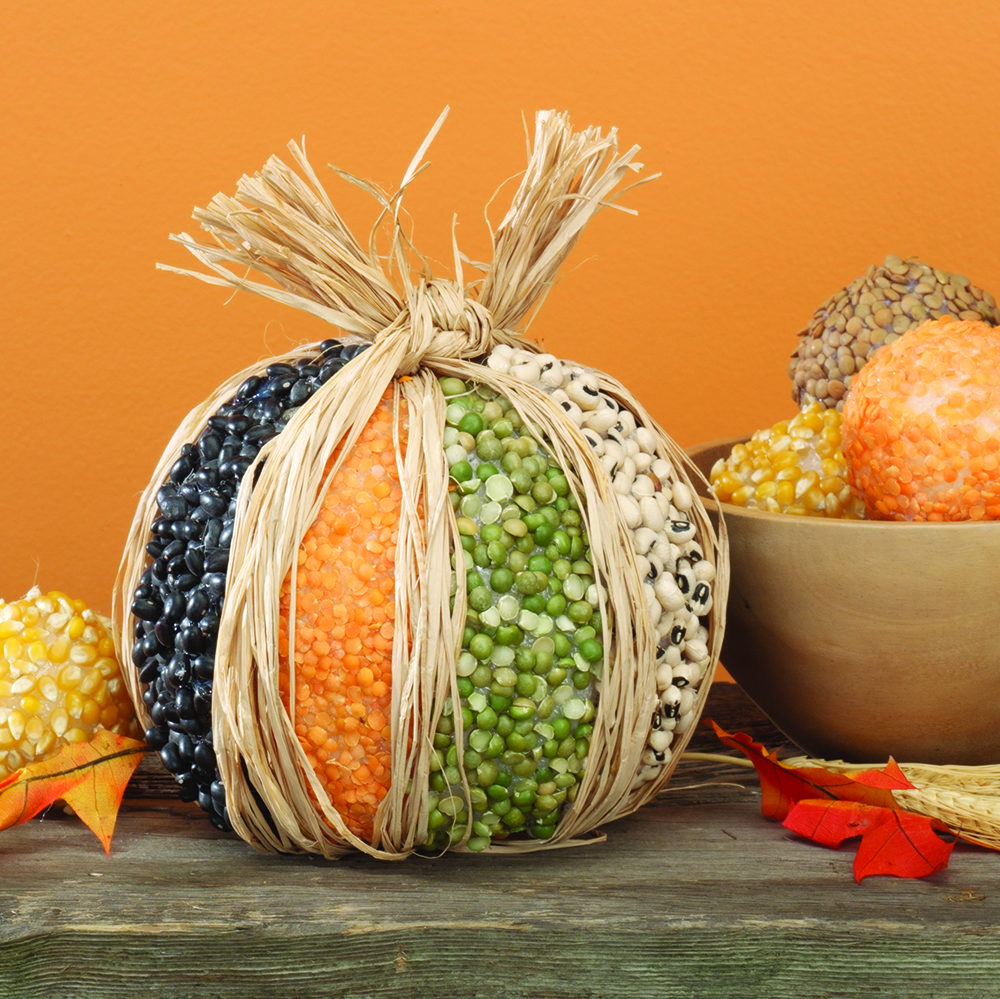
- To create the small, “seeds and such” décor balls; Apply low-temp glue to the 1 ½” ball, working on a small section at a time, then roll in the material of your choice to completely cover. Repeat using 2” and 2 ½” balls. If there are any bare spots showing simply add more glue and roll again to cover.
- To create the “seeds and such” pumpkin; Use the Foam Cutter or serrated knife to cut flat spots on the top and bottom of the 6” ball. This will create more of a pumpkin shape. Stretch the rubber band around the 6” ball to divide it in half and trace with black marker. Remove the rubber band and stretch over the ball in the opposite direction, dividing the ball into quarters. Trace again with a black marker. Repeat this two more times, dividing the ball into eighths. Remove the rubber band and begin gluing the materials to each section, working on a small section at a time. Glue-like materials to opposite sides of the ball. For example; if you glue black beans to one side of the ball, glue another section of black beans directly opposite on the other side of the ball. Glue materials to each section completely covering the ball. Once dry, tie lengths of raffia in between each section as shown, using low-temp glue to secure.
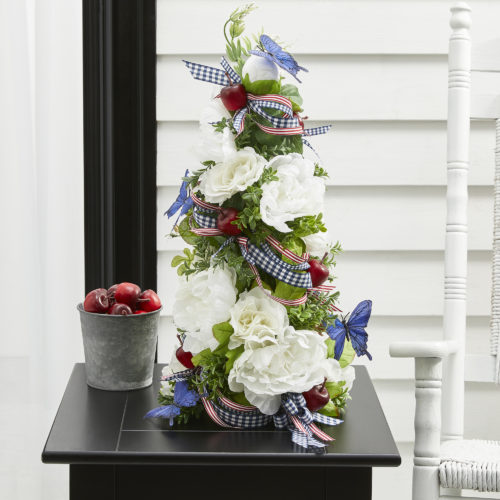
- Option: Use similar steps to create this cone table piece.
Tip: Apply acrylic sealer to the finished project to secure materials to the foam for a longer-lasting display.
"*" indicates required fields



 Subscribe


